How To Pack a Painting For Shipping
Before packaging your painting to be shipped, it’s really important to ensure that it is completely dry. Drying time will vary greatly depending on what supplies you use. Whether you created oil paintings or acrylic paintings, It’s important that you do your homework on the specific drying time for your painting. The good news is that the packing tips below will help you ship paintings with peace of mind!
It’s important that you do your homework on the specific drying time for your painting.
Smaller Paintings (48″ X 48″ and below)
Supplies:
- Acid-free archival tissue paper or Glassine paper
- Poly wrap, plastic sheeting or heavy plastic bag
- Bubble wrap
- At least 0.5″ thick Foam board or 2-ply cardboard
- Packing tape
- Cardboard corner protectors
- Cardboard box
Steps:
- Wrap your painting in acid-free paper or glassine paper. Handle your work of art in the best way by not touching your artwork with bare hands. White gloves are the best to use. You can also use archival tissue paper or glassine paper to handle your artwork.
- You will need 4 square pieces of your archival tissue paper/glassine paper. Fold each piece diagonally in half. Then, fold the now triangular piece, diagonally in half, again. This turns it into a triangular pocket. Use one pocket to cover each corner of your painting.
- Your painting will need a firm backing. Use your foam board / 2-ply cardboard and tape it to the tissue paper pockets on the corners of the painting. The backing should either be the same size as the painting or slightly bigger.
- To keep your painting completely dry, wrap your painting in the poly wrap / plastic sheet or carefully place it in the heavy plastic bag. to ensure moisture doesn’t enter your packaging, seal any open areas properly using packing tape.
- Next, presentably wrap your masterpiece in a double layer of bubble wrap, and use the tape to seal it.
- Protect each corner of your painting by using cardboard corner protectors.
Using 2 pieces of foam board / 2-ply cardboard, sandwich the artwork between each piece. It’s important to ensure that the board extends 2″ – 3″ beyond your bubble-wrapped masterpiece. Use the packing tape to secure both boards, ensuring the sides are firmly taped down. This will provide the best option to decrease the movement of your artwork between the boards.
NOTE: Be careful about the amount of pressure you apply to the artwork, especially the surface of the painting. You do not want to create dents in your masterpiece.
- Place your securely packaged painting in the cardboard box, ensuring about 3 inches of empty space between the box and the packaged painting. Use bubble wrap or shredded white paper in the space surrounding the artwork. This will decrease the movement of your masterpiece during shipping.
- To completely secure your cardboard box, use the H-taping method. This will provide additional protection. You can find the specific instructions HERE.
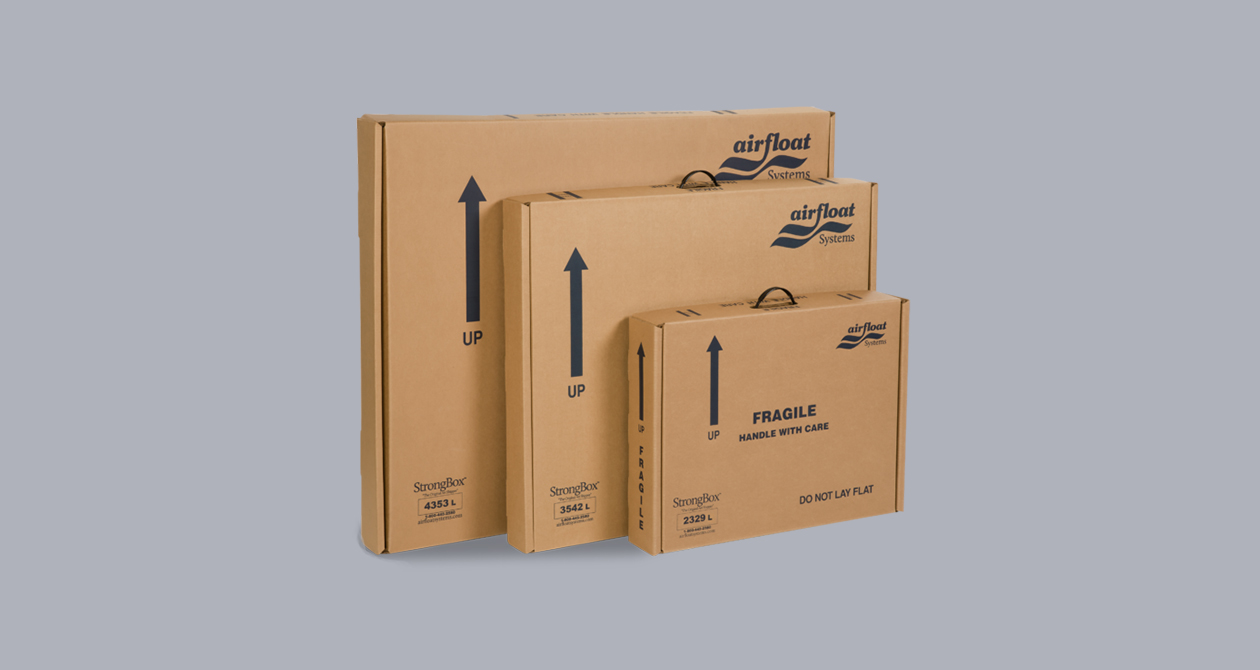
- Place your shipping label on the cardboard box and put clear tape over it to prevent damage during shipping. Using a permanent marker, clearly write the words ‘FRAGILE’ on your cardboard box or use ‘FRAGILE’ labels, clear enough for the shipping company to view.
Large Paintings (48″ X 48″ and above)
NOTE: It is really important that you use a wood crate for any painting exceeding 48″ on any one side.
Supplies:
- Acid-free archival tissue paper or Glassine paper
- Poly wrap, plastic sheeting or heavy plastic bag
- Bubble wrap
- At least 0.5″ thick Foam board or 2-ply cardboard
- Packing tape
- A wood crate (see instructions on building a wood crate in the ‘Build Your Crate’ section below)
Steps:
- Wrap artwork in archival tissue or glassine paper. Handle your masterpiece with care by not touching your artwork with bare hands. White gloves are the best to use. You can also use archival tissue paper or glassine paper to handle your artwork.
- You will need 4 square pieces of your archival tissue paper/glassine paper. The size of squares may need adjusting to better fit the size of your painting. Fold each piece diagonally in half. Then, fold the now triangular piece, diagonally in half, again. This turns it into a triangular pocket. Use one pocket to cover each corner of your painting.
- Your painting will need a firm backing. Use your foam board / 2-ply cardboard and tape it to the tissue paper pockets on the corners of the painting. The backing should either be the same size as the painting or slightly bigger.
- To keep your painting completely dry, wrap your painting in the poly wrap / plastic sheet or carefully place it in the heavy plastic bag to ensure moisture doesn’t enter your packaging, seal any open areas properly using packing tape.
- Next, presentably wrap your masterpiece in a triple layer of bubble wrap, and use the tape to seal it. If you think your package needs extra bubble wrap, by all means, use more.
- Build your wooden crate, place your artwork inside, and properly seal it. For instructions on how to build a crate, see the ‘Build Your Crate’ section below.
Paintings With A Frame
Supplies:
- Acid-free archival tissue paper or Glassine paper
- Poly wrap, plastic sheeting or heavy plastic bag
- Bubble wrap
- Packing tape
- Painters tape (for glass framed artwork)
- At least 0.5″ thick Foam board or 2-ply cardboard
- Crumpled or shredded white paper
- A really sturdy cardboard box for artwork 18″ X 24″ and below
- Or, a wood crate for artwork 18″ X 24″ and above
- Ensure that your sturdy cardboard box or the wood crate you built has at least 3″ of extra space surrounding your artwork. This will allow you to add the bubble wrap needed.
- If your masterpiece is covered with glass or an acrylic pane, take that off first. If it doesn’t go to step 5
- To provide added protection for your glass or acrylic pane, use the painter’s tape to form an X by placing them diagonally on the pane. This will help the pane stay together in case it breaks during shipping.
- Place your pane in between 2 foam board pieces. Ensure that the foam boards stick out at least 2″ from the glass or acrylic pane on each side. Use packing tape to securely seal the 2 pieces of foam board with the pane in between.
- Wrap your painting in the glassine paper/archival tissue. Handle your masterpiece with care by not touching it with bare hands. White gloves are the best to use.
- Wrap your artwork with poly wrap or plastic sheeting to keep water and moisture out.
- Protect the corners of your artwork by using the cardboard corner protectors.
- Next, presentably wrap your masterpiece in a triple layer of bubble wrap, and use the tape to seal it.
NOTE:
For paintings 18″ X 24″ and below, go to step 9.
For paintings 18″ X 24″ and above, see the ‘Build Your Crate” section. Your valuable art will have extra protection in a wooden crate.
- Put your wrapped painting between 2 pieces of foam board and use packing tape to securely seal them.
- Place your masterpiece in the cardboard box and pack in any gaps around it with as much shredded paper as needed. Using as much tape as needed, secure the box. Strengthen the corners by applying extra packing tape.
- Place your shipping label on the cardboard box and put clear tape over it to prevent damage during shipping. Using a permanent marker, clearly write the words ‘FRAGILE’ on your cardboard box or use ‘FRAGILE’ labels, clear enough for the shipping company to view.
Paintings On A Rolled Canvas
If your painting is on a canvas and is 72″ X 72″ and below, you can ship it in a tube. Not just any tube though. It needs to be a sturdy mailing tube. Take the canvas off its stretchers and ensure that it is totally dry before rolling it.
Supplies:
- Acid-free archival tissue paper or Glassine paper
- Poly wrap, plastic sheeting or heavy plastic bag
- Painters tape (for glass framed artwork)
- 2 mailing tubes, one with a larger diameter than the other. The larger tube should have 2 plastic caps, 8″ – 12″ in diameter. This will depend on the size of your canvas. You will place your canvas in the smaller tube, then place that tube in the larger mailing tube.
- Bubble wrap
- Packing tape
Steps:
- Place your canvas in between a double layer of archival tissue paper.
- Very gently, roll your now paper-protected canvas around the smaller tube, ensuring that the painted side faces outward as you roll.
- Then, roll your masterpiece in a layer of bubble wrap and securely seal it with the tape to keep moisture out.
- Place your rolled painting into the larger mailing tube. Carefully fill in any gaps with bubble wrap while ensuring that you do not crush any part of your painting. Place your 2 plastic caps at the end of the outer mailing tube and firmly secure them with tape.
- Place your shipping label on the tube and put clear tape over it to prevent damage during shipping. Using a permanent marker, clearly write the words ‘FRAGILE’ on your tube or use large ‘FRAGILE’ labels, clear enough for the shipping company to view.
Build Your Crate
You would need to build a wooden crate to ship artworks like large paintings (48″ X 48″ and above) and fragile items.
Supplies:
- 4 planks of plywood for the frame (0.25″ – 0.5″ thick depending on how fragile your artwork is.
- 2 plywood sheets for front and back panels
- Saw
- Drill
- 1.25″ Wood screws
- Wood glue
- 0.5″ thick foam board
Steps:
- Before wrapping your artwork, measure it and write down its height, width and depth. These are the measurements you will use to figure out what dimensions you need for your plywood frame. You will also need to leave enough room for a 0.5″ thick board frame in addition to the dimensions of your painting. You will use shredded paper as well as bubble wrap to fill in this space, to decrease the risk of damage.
- Refer to the dimensions you wrote down, and cut 4 plywood pieces of plywood, taking into consideration the thickness of the plywood itself while measuring the length and height of the frame. it’s a good idea to ensure that the top piece of the frame (which will act as the lid of the crate) extends over the pieces that will be used for the sides. This will make it easier for the buyer to remove.
- Glue and screw together 3 plywood strips. Do not include the top lid just yet because you will screw it on after you put your masterpiece in the crate.
- Tape or glue strips of foam board to the frame to line it. If you do use glue, you will need to wait for it to dry before completing packaging your artwork.
- Using the same dimensions of the constructed frame, cut 2 sheets of plywood. You will use these as the front panel and back panel of your crate.
- Use wood glue and screws to attach one plywood sheet to the back of the frame.
- Your packaging process is almost complete! Place a piece of foam board – similar in dimension to the frame – inside the crate. Place your artwork on top ensuring that there’s no room for the artwork to move around inside.
- Using another piece of foam board, cover your masterpiece.
- Place the lid on top of the frame and properly secure it with screws. Ensure that your crate is as air-tight and moisture free as possible.
- To guide the buyer on which panel to remove from the crate, clearly write ‘UNSCREW THIS SIDE ONLY’ on the removable lid. You can also add additional instructions for the buyer by writing them on the removable lid. Make sure you use a permanent marker.
- Place your shipping label on the cardboard box and put clear tape over it to prevent damage during shipping. Using a permanent marker, clearly write the words ‘FRAGILE’ on your cardboard box or use ‘FRAGILE’ labels, clear enough for the shipping company to view.
PRO TIP:
To make transportation of the crate easier, it’s a great idea to screw in cabinet handles. Use screws that are long enough, but not too long that they go inside the frame of the crate.